Screen Record yourself wishing you could bottle up that hilarious video chat. Moment or preserve an epic gaming victory for posterity? Well if you’re rocking an HP laptop you’re in luck! Screen recording isn’t just for tech wizards anymore it’s a handy tool that’s right at your fingertips ready to capture everything from professional presentations to personal memories with just a few clicks.
We are diving deep into the world of screen recording on HP laptops. Screen Record Whether you’re a student looking to save lecture notes, a professional creating tutorials, or just someone who wants to share cool online moments with friends, we’ve got you covered. We’ll walk you through everything from getting started with the built-in tools to troubleshooting common issues and even spicing up your recordings with some pro tips.
Getting Started with Screen Recording on Your HP Laptop

Before we dive into the nitty-gritty of screen recording, let’s make sure you have everything you need to get started. Most HP laptops come equipped with Windows 10 or 11, which includes a built-in screen recording tool called the Xbox Game Bar. Don’t let the name fool you – this versatile tool isn’t just for gamers!
To begin your screen recording journey, you’ll need:
- An HP laptop running Windows 10 or 11
- Sufficient storage space for your recordings
- A microphone (built-in or external) if you want to record audio commentary
Pro Tip: Before you start recording, close any unnecessary applications to free up system resources and ensure smooth video capture.
Accessing the Xbox Game Bar
The Xbox Game Bar is your gateway to screen recording on your HP laptop. Here’s how to access it:
- Press the “Windows key + G” on your keyboard
- If the Game Bar doesn’t appear, go to “Settings > Gaming > Xbox Game Bar” and make sure it’s enabled
- Once you’ve opened the Game Bar, you’ll see several widgets. The one we’re interested in is the “Capture widget”. This is where the magic happens!
Setting Up Your Recording Preferences

Before you hit that record button, it’s important to configure your recording preferences. This ensures you capture exactly what you want, how you want it. Here’s a breakdown of the key settings:
| Setting | Description | Recommendation |
| Microphone | Enables/disables audio commentary | Enable if you want to add narration |
| System sounds | Captures audio from your laptop | Enable to record application sounds |
| Video quality | Adjusts the resolution of your recording | Higher quality for presentations, lower for casual use |
| Frame rate | Number of frames captured per second | 30 fps for most uses, 60 fps for gaming or smooth motion |
| Recording area | Defines what part of the screen to capture | Full screen for overall tasks, window capture for specific applications |
| File format | Determines the output file type | MP4 for compatibility, AVI for high quality |
| Cursor capture | Shows mouse movements in the recording | Screen Record Enable for tutorials, disable for cleaner professional videos |
| Webcam overlay | Adds a video of you to the recording | Enable for personal touch in tutorials or presentations |
| Hotkeys | Keyboard shortcuts for recording controls | Set up for quick start/stop without opening the interface |
| Storage location | Where recorded files are saved | Screen Record Choose an easily accessible folder with ample free space |
To access these settings, click on the gear icon in the Capture widget. Screen Record Take some time to experiment with different configurations to find what works best for your needs.
Step-by-Step Guide to Screen Recording
Now that you’re all set up, let’s walk through the process of actually recording your screen:
- Open the application or window you want to record
- Press “Windows key + G” to bring up the Game Bar
- In the Capture widget, click the “record button” (it looks like a circle)
- A countdown will appear, and then your recording will start
- To stop recording, click the stop button in the floating bar at the top of your screen
Remember: You can also use the keyboard shortcut “Windows key + Alt + R” to start and stop recording without opening the Game Bar.
After the Recording: What Next?
Congratulations! You’ve successfully recorded your screen. But what happens now? Here’s what you need to know:
- Finding your recording: By default, your screen recordings are saved in the “Videos > Captures” folder
- Viewing your recording: Double-click the file to play it in your default video player
- Sharing your recording: You can easily share your video via email, social media, or cloud storage services
If you want to edit your recording, Windows includes a basic video editor. For more advanced editing, consider using software like:
- Adobe Premiere Pro
- DaVinci Resolve
- Filmora
These tools can help you trim your video, add text overlays, and even include special effects.
Troubleshooting Common Screen Recording Issues

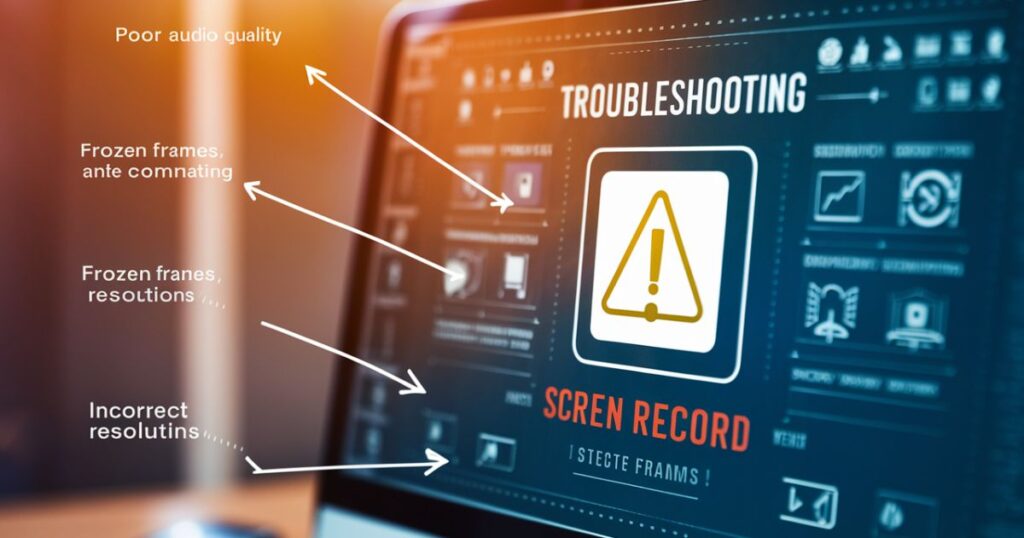
Even the smoothest operators can run into issues. Here are some common problems you might encounter when screen recording on your HP laptop, along with solutions:
No audio in the recording
- Check your audio settings in the Game Bar
- Ensure your microphone is properly connected and selected
- Verify that system sounds are enabled
Laggy or choppy video
- Close unnecessary applications to free up system resources
- Lower the video quality settings
- Consider upgrading your laptop’s RAM or storage to an SSD
Screen Record Game Bar won’t open
- Update your graphics drivers
- Restart your laptop
- Check if Game Bar is enabled in Windows settings
Recording won’t start
- Ensure you have enough storage space
- Check if you have permission to record (some applications may block recording)
- Try using the keyboard shortcut (Windows key + Alt + R) instead of the Game Bar
Advanced Screen Recording Tips and Tricks
Ready to take your screen recording skills to the next level? Try these advanced techniques:
- Record a specific window: Click on the window you want to capture before starting the recording
- Capture your webcam: Great for adding a personal touch to tutorials or presentations
- Use custom keyboard shortcuts: Set up your own shortcuts in the Game Bar settings for quicker access
- Schedule recordings: Perfect for capturing events when you’re away from your laptop
Enhancing Your Recordings with Additional Tools
While the Xbox Game Bar is a great built-in option, there are other tools you can use to enhance your screen recordings:
- OBS Studio: A powerful, free, open-source option with advanced features
- Camtasia: A premium tool with a robust set of editing and effects options
- Screencast-O-Matic: A user-friendly option with both free and paid tiers
These tools can offer additional features like:
- Advanced editing capabilities
- Green screen effects
- Custom overlays and annotations
- Direct streaming to platforms like YouTube or Twitch
“The best tool is the one that fits your specific needs and workflow. Don’t be afraid to experiment with different options!” – Tech Guru Magazine
Case Study: How Screen Recording Boosted Productivity

Sarah, a software developer at a major tech company, started using screen recording on her HP laptop to create quick tutorial videos for her team. She found that by recording short explanations of complex code, she could:
- Reduce meeting times by 30%
- Improve knowledge retention among team members
- Create a valuable resource library for new hires
By leveraging the built-in screen recording features of her HP laptop, Sarah was able to significantly improve her team’s efficiency and communication.
Conclusion
In conclusion, screen recording on your HP laptop is a powerful tool that can enhance your productivity, creativity, and communication. Whether you’re a student, professional, or just someone who likes to share cool moments online, mastering this skill can open up a world of possibilities. So fire up that HP laptop, hit record, and start capturing your digital world today.
Frequently Asked Questions
How long can I screen record?
The duration is mainly limited by your available storage space. There’s typically no set time limit, but longer recordings create larger files.
Will screen recording slow down my laptop?
It can, especially on older models or when recording high-quality video. Close unnecessary apps and lower recording quality to minimize impact.
Can I record my webcam too?
The built-in Xbox Game Bar doesn’t support this, but third-party tools like OBS Studio or Camtasia do allow webcam recording alongside screen capture.
Is screen recording legal?
Generally yes for personal use, but be cautious with copyrighted content and always get consent when recording others.
How do I reduce file size?
Lower resolution, reduce frame rate, use efficient codecs, trim unnecessary parts, or use video compression software.
Can I edit recordings on my HP laptop?
Windows includes a basic video editor in the Photos app. For more advanced editing, consider third-party software.

